

In my house among my beautiful canine companions, "bitch" is a compliment. And with all the binding I do on my dog pants, I refuse to be intimidated.
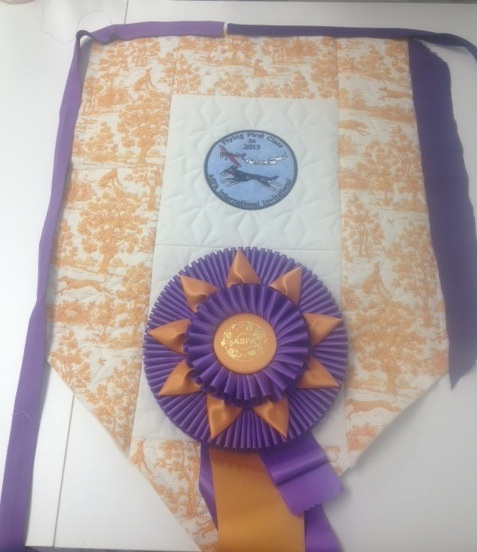
Once again I was asked to do trophies for an annual dog event. In the midst of working on these banner trophies, I revisited all the binding tutorials I could find and used a little bit of all of them and came up with my own method.
Let's face it, the best binding is finished with hand stitching. This is unfortunate since I am extremely allergic to anything that requires hand stitching; plus I have 15 of these banners to do.
Decided to go with a two color binding. I found this great tutorial on Pinterest. Here is the link: My Life as a Quilter.
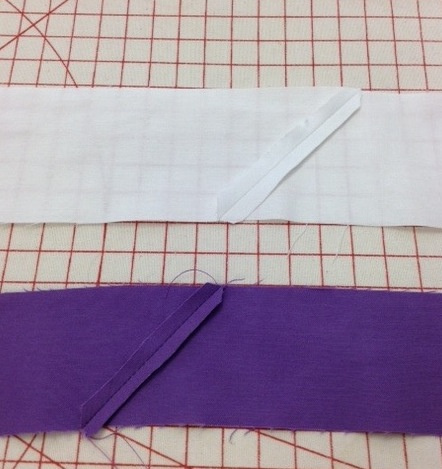
The only problem is I use a larger seam allowance on my quilt squares so I had to adjust the measurements. Decided on a shade of purple to match the ribbon for the main color and the white as the accent color. First I cut the purple 2 inch wide.
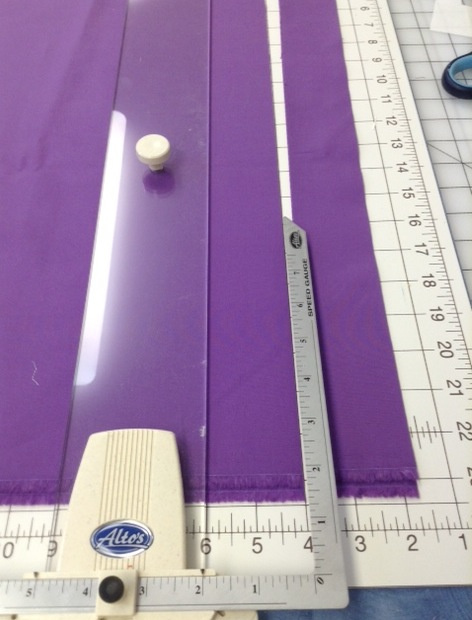
I love gadgets. The Alto Quilt Cut 2.
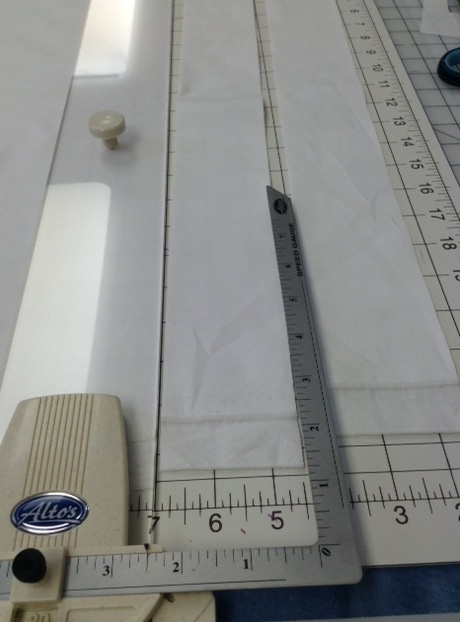
The fabric you want to accent needs to be cut wider. I cut the white 2 1/2 inches wide.
Each banner required 2 WOFs. These were sewn together with a diagonal seam.
The purple and the white were then sewn together using a 1/4 inch seam allowance. Love my feet.
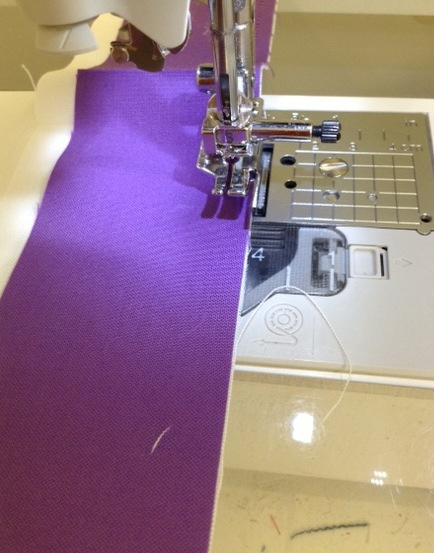
This gave me 4 inches of binding. Plenty of fudge room to cover up sitches, etc.
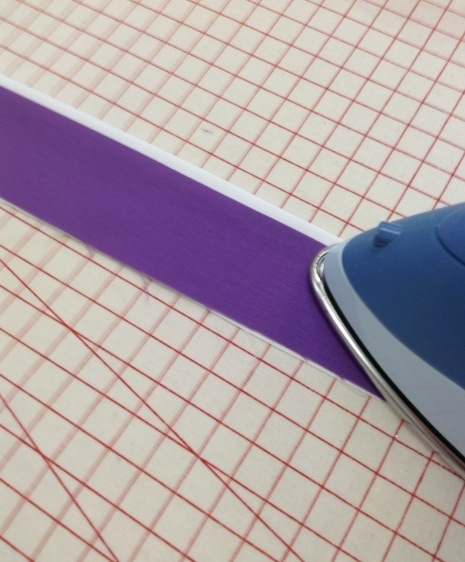
Iron in half. (Another gadget alert - love this iron). The white accent will be 1/4 inch wide. The Oliso iron with iTouch Technology.
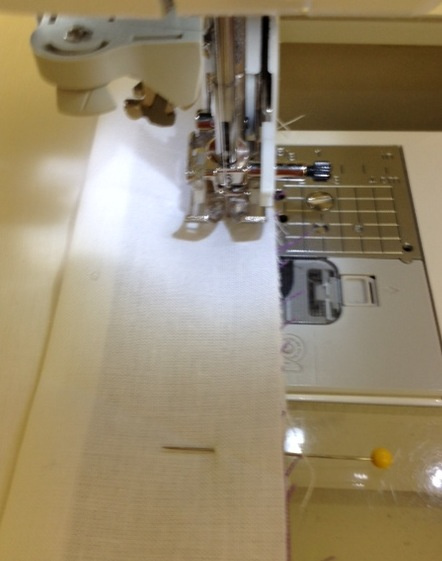
You can use 1/2 inch to a 5/8 inch seam when sewing to the banner. I went somewhere in between. Missouri Quilt Company has a great tutorial on binding and using decorative stitches and trim. I still wasn't happy with the large corners I created. I have seen a couple methods of stiching diagonal into the corner and off the quilt or perpendicular to the corner and off.
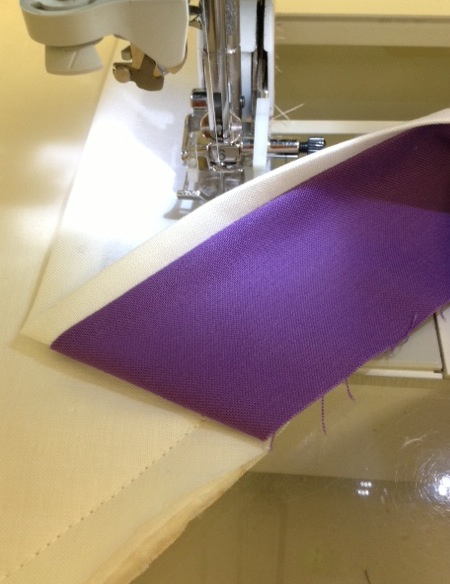
Nancy Zieman has a method of finger pressing a crease in the corner. I like this method and finger pressing with acrylic nails helps even more.
l put a pin where the crease and seam allowance intersect.
Wasn't really sure how to connect the ends and where to connect them on this wall hanging. Because of the size of the wall hanging you can't use The Binding Tool. The video by Nancy Zieman just looks too cumbersome when trying to meet those ends.
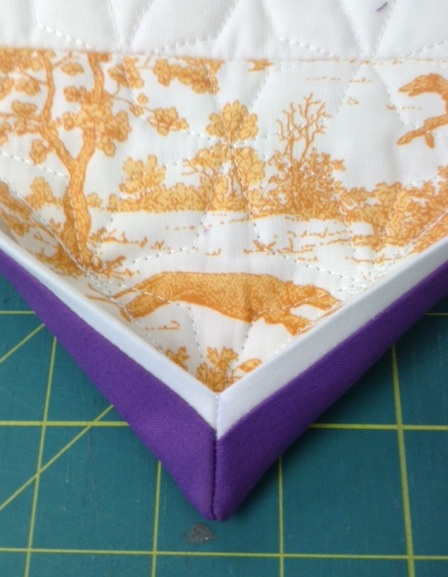
Then I found this website. The answer to my bitch of a binding in a tutorial by Flourishing Palms. So I decided to try this method on the point of the corner. Here is the first one I did.
Now we're talking! But what about trying this method on the other corners. A couple corners have an odd angle. What's the worst that can happen? Right? So here we go.
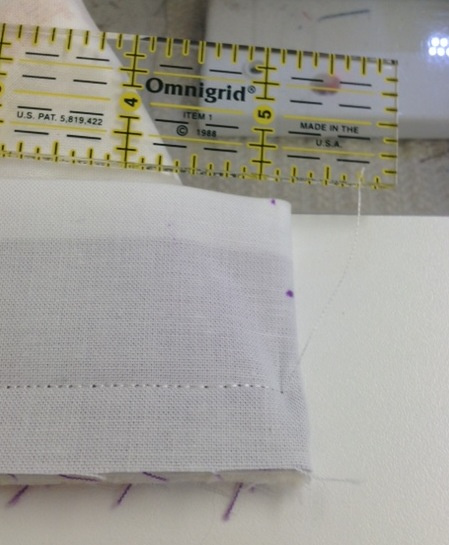
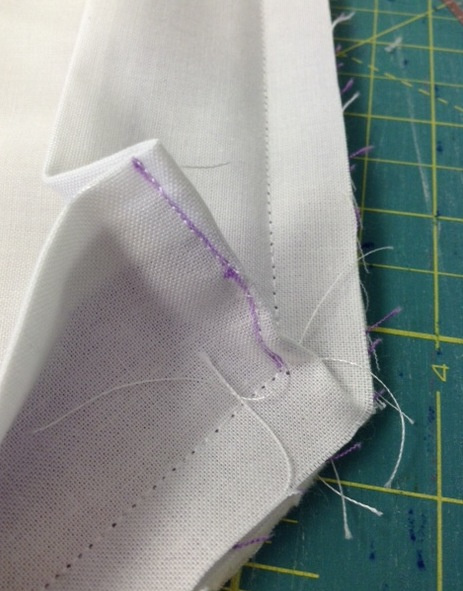
Place a mark at the top even with the beginning of the stiching at the bottom. Place another mark on the fold of the binding in between the stich line and the top.
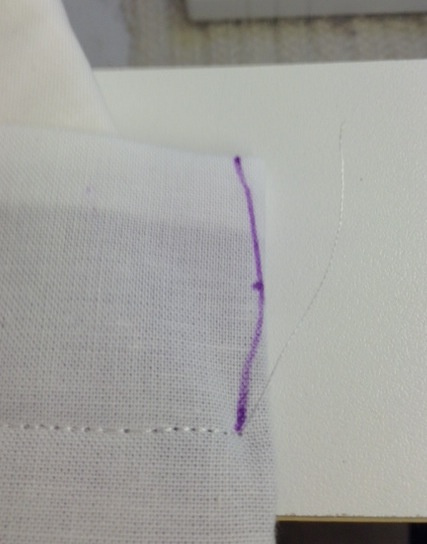
Draw a line making a slight angle.

Stitch along the line.
When I flipped it over, I thought the corners were too bulky so I decided to trim this seam. This worked out perfectly. You flip everything over to the front. I stitched in the ditch of the seam between the white and purple using white thread and clear thread in the bobbin. Love it!

If there is any problem with the point at the end, the ribbon will cover it up. This woud be a great method to use on the Kaleidoscope Quilts by Anita Goodesign which I just got this month in the Quilt Club.
BTW, the fabric is from Spoonflower. They have great fabric for people like me that love sighthounds and bunnies.
Now about those UFOs ...
Kathy Lipps